
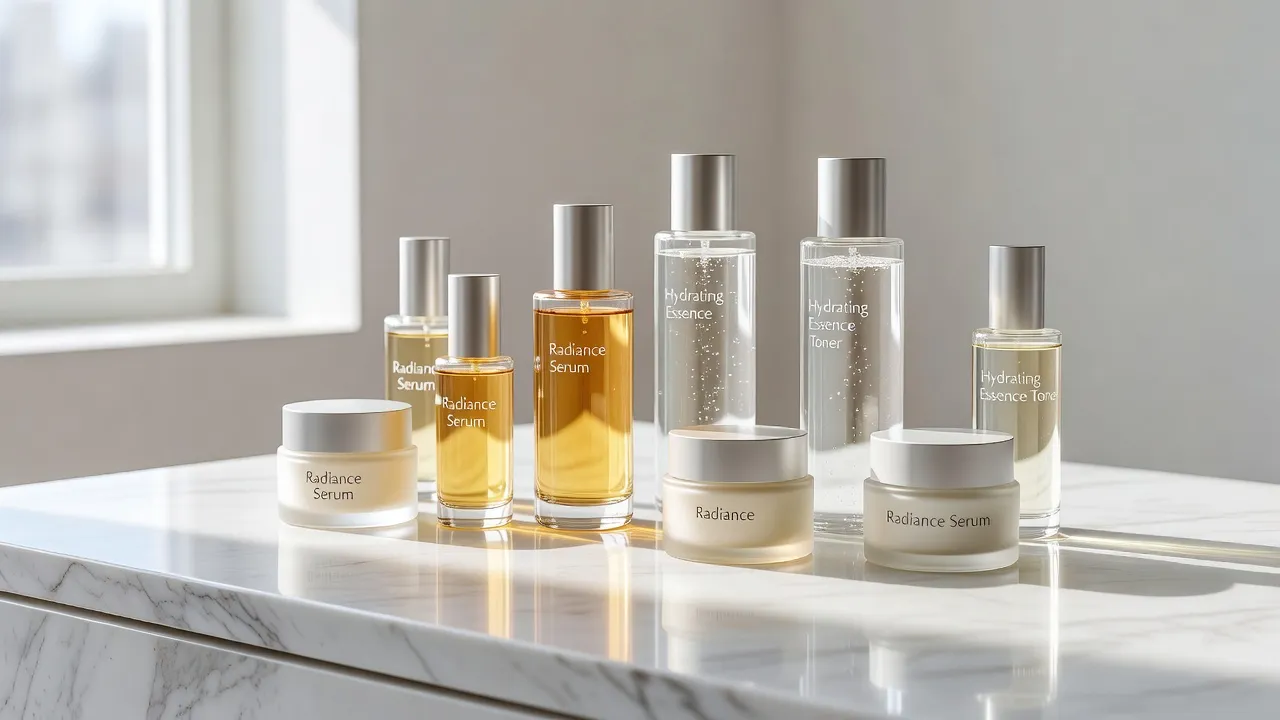
A glass skin routine is a multi-step regimen that focuses on intense hydration, gentle exfoliation, and skin barrier maintenance to make skin look luminous, smooth, and clear. You can build a complete glass skin regimen using six core steps that take less than ten minutes each morning and evening. Modern dermatological trends in September 2026 prioritize skin barrier protection over aggressive stripping, ensuring your face stays hydrated without irritation or redness.

What is glass skin?
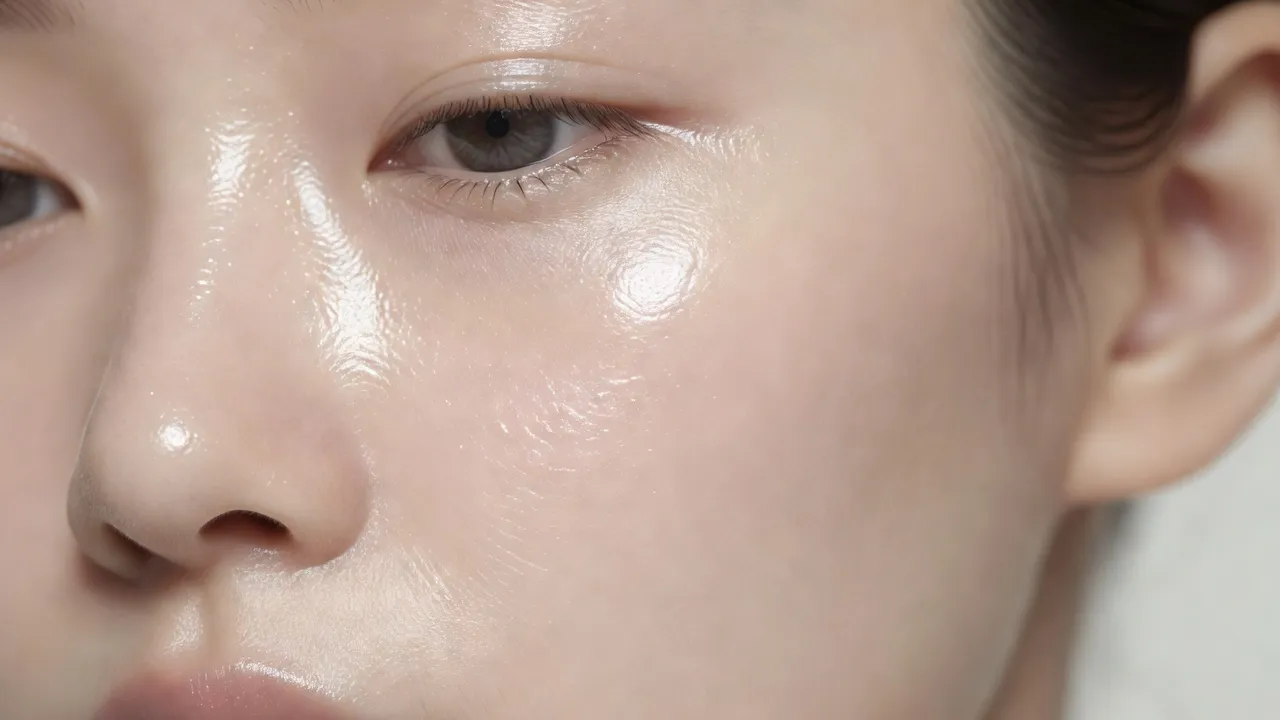
Glass skin is a Korean beauty concept referring to a skin complexion that appears exceptionally smooth, deeply hydrated, translucent, and poreless, like a clean sheet of glass. Originating in South Korea, the trend emphasizes long-term skin health through layered hydration rather than using heavy makeup to cover up natural texture. It reflects broader korean standards of beauty where intense moisture and a natural radiant glow take priority over matte cosmetic finishes.
Achieving glass skin requires consistent skin care habits rather than quick cosmetic fixes. Texture: Surface roughness and flaky patches must be smoothed through mild exfoliants. Hydration: Moisture needs to be flooded into deep epidermal layers using humectants like hyaluronic acid and glycerin.
What do dermatologists recommend for the order of steps in a glass skin routine?
Dermatologists recommend layering skincare products from the thinnest consistency to the thickest consistency so that lightweight active ingredients penetrate deep into your skin. Applying heavy creams before thin serums blocks watery formulas from absorbing into your epidermal layers. Following this rule ensures that every hydrating toner, serum, and lotion works at maximum efficiency without piling up or sliding off.
- Apply thin/watery products first (toners & essences)
- Apply thick/occlusive products second (creams & facial oils)
To evaluate how well your current routine works, you can track texture and clarity changes over time. Using an AI-driven tool like the Glow Up & Attractiveness Test allows you to analyze your facial features, monitor your skin clarity, and receive customized recommendations on how to enhance your overall visual appearance. Evaluating your baseline before introducing new hydrating serums provides clear visual feedback on your progress.
What does the American Academy of Dermatology recommend for skincare routine order (cleanse, exfoliate, moisturize, sunscreen)?
The American Academy of Dermatology recommends a baseline routine sequence starting with a gentle cleanser, followed by targeted treatments, a daily moisturizer, and finishing with broad-spectrum sunscreen. According to official guidance from the American Academy of Dermatology, applying products in this specific order preserves your natural skin barrier while ensuring proper sunscreen protection against UV damage. Chemical exfoliants should be applied right after cleansing, but only on designated days rather than every single morning.
- Cleanse
- Exfoliate (1-3x/week)
- Moisturize
- Sunscreen (AM)
Following this basic hierarchy prevents common mistakes like washing away serums or applying sunblock under heavy ointments. Daily consistency: Cleanse, moisturize, and wear SPF every single morning. Weekly adjustments: Exfoliate only a few evenings per week to avoid damaging the outer skin matrix.
What does Mayo Clinic recommend for a skincare routine (sunscreen, moisturizer, exfoliation)?
Mayo Clinic recommends focusing your daily skincare routine on gentle cleansing, consistent moisturizing, broad-spectrum sun protection with SPF 30 or higher, and minimal mechanical friction. Expert guidelines from Mayo Clinic emphasize that shielding your face from ultraviolet radiation prevents premature aging, fine lines, and irregular hyperpigmentation. Avoiding harsh scrubbing brushes and aggressive physical scrubs keeps your moisture barrier intact, allowing hydrated skin cells to hold water for longer periods.
Mayo Clinic experts also note that bathing or washing your face with warm water rather than hot water preserves essential skin lipids. Hot water strips away protective oils, leading to immediate tightness, dry patches, and compromised skin texture.
Glass Skin Routine Steps at a Glance
The table below outlines the six essential steps of a glass skin routine, including daily frequencies, ideal ingredients, and primary benefits.
| Step | Technique / Name | Frequency | Target Benefit | Key Ingredients |
|---|---|---|---|---|
| 1 | Double Cleansing | Daily (PM) | Clears oil, makeup, and dirt | Jojoba Oil, Micellar Water, Gentle Amino Acids |
| 2 | Hydrating Toner | Daily (AM/PM) | Rebalances pH and hydrates cells | Centella Asiatica, Green Tea, Glycerin |
| 3 | Brightening Serum | Daily (AM/PM) | Smooths texture and fades spots | Hyaluronic Acid, Niacinamide (2-5%) |
| 4 | Barrier Cream | Daily (AM/PM) | Locks in moisture and repairs barrier | Ceramides, Fatty Acids, Squalane |
| 5 | Broad-Spectrum SPF | Daily (AM) | Prevents UV damage and dark spots | Zinc Oxide, Chemical Filters |
| 6 | Chemical Exfoliation | 1-3x Weekly (PM) | Dissolves dead cells and clears pores | Lactic Acid, Salicylic Acid, PHAs |
Step-by-Step Guide: How to Achieve Glass Skin
To get a luminous glass skin finish, you must execute each step in the correct sequence using gentle formulas. Skip heavy fragrance and abrasive physical scrubs that cause micro-tears in the outer layer of skin.
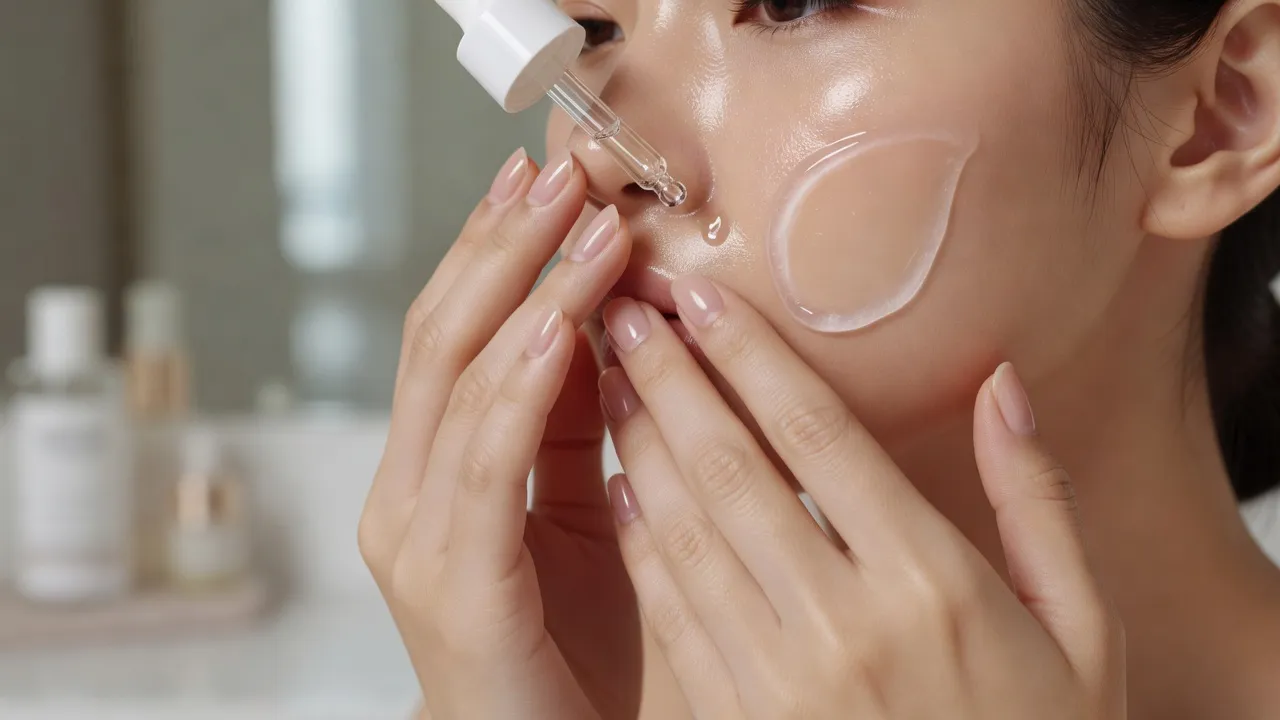
Step 1: Double Cleanse with an Oil and Water-Based Cleanser
Double cleansing removes lipid-soluble dirt like sunscreen and sebum first, followed by water-based impurities like sweat and dust. Start your evening routine by applying an oil-based cleanser or cleansing balm directly onto dry skin. Massage gently for 60 seconds to break down stubborn makeup and pore-clogging oils.
Rinse thoroughly with lukewarm water, then follow with a mild, low-pH water cleanser. pH Balance: Pick a cleanser with a pH between 5.0 and 6.0 to match your skin's natural acidity. Sensory Tip: Avoid cleansers that leave your face feeling tight, squeaky, or dry, as this indicates a stripped moisture barrier.
Step 2: Apply a Hydrating Toner or Essence
A hydrating toner restores immediate moisture to dehydrated surface cells, preparing your skin to absorb concentrated serums. Unlike old-fashioned alcohol-based astringents that strip the skin, glass skin toners are packed with humectants like glycerin and panthenol. Pour a nickel-sized amount into your palms and gently press it into your face.
In Korean skincare, many people use the "7-skin method," where you pat three to seven light layers of toner onto your face in sequence. Layering: Wait 30 seconds between layers for maximum absorption. Hydration Boost: This technique plumps up flattened skin cells, instantly reducing the appearance of fine surface lines.
Step 3: Layer Hyaluronic Acid and Niacinamide Serums
Applying concentrated serums delivers targeted active ingredients deep into the epidermis to address dull skin and uneven pigmentation. First, apply a hyaluronic acid serum onto damp skin to draw environmental moisture directly into your cells. Applying hyaluronic acid to bone-dry skin can actually pull water out of your deeper skin layers, worsening dryness.
Follow up with a 2% to 5% niacinamide serum to soothe inflammation and tighten the appearance of stretched pores. Niacinamide Balance: Higher concentrations (10% or more) can irritate sensitive skin, so stick to lower percentages for a glassy glow without redness. Patience: Allow your serums two minutes to absorb fully before moving to heavier moisturizers.
Step 4: Lock Moisture in with a Lightweight Barrier Cream
A barrier-repairing moisturizer creates a protective seal over humectants, stopping transepidermal water loss throughout the day and night. Look for creams enriched with ceramides, squalane, and cholesterol. These components mimic the natural lipid matrix found in healthy human skin, filling tiny gaps between surface cells.
If you are putting together a dedicated skincare routine at night, you can use a slightly richer gel-cream or overnight sleeping mask. AM Formula: Use a light emulsion during the day so your face looks fresh rather than greasy under daylight. PM Formula: Use a ceramide-dense cream before bed to repair daytime environmental exposure while you sleep.
Step 5: Protect Daily with Broad-Spectrum Sunscreen
Daily application of broad-spectrum sunscreen with SPF 30 or higher prevents ultraviolet rays from degrading collagen and generating dark spots. Sun damage disrupts smooth light reflection on the face, making glass skin virtually impossible to maintain. Apply two full finger-lengths of sunscreen over your face and neck every morning as your final daytime step.
Modern sunscreens introduced around 2026 incorporate hydration agents like centella asiatica and hyaluronic acid directly into light fluid bases. Dewy Finish: Choose a chemical or hybrid sunscreen with a "dewy" or "glowy" finish to enhance your natural radiance without leaving a chalky white cast. Reapplication: Reapply every two hours if you spend extended time outdoors.
Step 6: Exfoliate Weekly with Gentle AHAs or BHAs
Chemical exfoliation dissolves the intracellular glue holding dead skin cells together, revealing a smooth, polished surface beneath. Swap out harsh walnut scrubs for liquid chemical exfoliants containing lactic acid, glycolic acid, or salicylic acid. Apply your exfoliant two evenings per week after cleansing, before your toner.
AHA Benefits: Lactic and glycolic acids work on the skin surface to improve hydration and fade discolored patches. BHA Benefits: Salicylic acid penetrates inside oil-filled pores to dissolve blackheads and prevent congestion. Caution: Over-exfoliating ruins your skin barrier, causing stinging, raw patches, and severe breakouts.
How often do dermatologists recommend chemical exfoliation with AHAs/BHAs?
Dermatologists recommend using chemical exfoliants containing AHAs or BHAs one to three times per week, depending on your individual skin sensitivity and oil production. Over-exfoliating breaks down the delicate lipid layer of your skin, leading to chronic moisture loss, burning sensations, and inflammatory acne. Clinical recommendations reported by Cleveland Clinic emphasize that alpha-hydroxy acids and beta-hydroxy acids should be used in moderation during evening routines to prevent heightened sun sensitivity.
Exfoliation Frequency Guidelines:
- Dry / Sensitive Skin: 1x per week (Lactic Acid or PHAs)
- Combination / Normal Skin: 2x per week (AHAs + BHAs)
- Oily / Acne-Prone Skin: 2-3x per week (Salicylic Acid)
If you notice flaking, redness, or stinging when applying basic moisturizers, pause all exfoliants immediately. Skin Reset: Give your face ten to fourteen days to rebuild its natural barrier using only a water cleanser, basic ceramide cream, and sunscreen before reintroducing acids.
What role do hyaluronic acid and niacinamide play in a glass skin routine?
Hyaluronic acid draws water into surface cells for immediate surface plumping, while niacinamide calms inflammation, regulates excess oil, and brightens dark marks. Using these two ingredients together forms the foundation of the glass skin look by saturating cells with deep hydration while refining surface irregularities. Hyaluronic acid can attract up to 1,000 times its weight in water, while niacinamide strengthens cell walls to keep that moisture trapped inside.
| Hyaluronic Acid | Niacinamide |
|---|---|
| Draws surface moisture into cells | Calms redness & inflammation |
| Creates immediate skin plumpness | Reduces excess oil production |
| Smooths fine dehydration lines | Strengthens ceramide barrier |
Studies published in the National Center for Biotechnology Information (NCBI) highlight that topically applied niacinamide significantly improves skin elasticity and reduces hyperpigmentation within four to eight weeks. Combining both active compounds in your daily regimen creates a balanced environment where your skin retains high moisture levels without breaking out.
Tracking Your Skin Transformation and Progress
Achieving a true glass skin finish takes between four to eight weeks of disciplined skincare habits. Because cell turnover slows down as we age, real changes in surface texture require time, patience, and careful monitoring of your skin's response to active ingredients.
Skincare Progress Timeline:
Week 1-2: Improved surface hydration and softer skin feel.
Week 3-4: Reduced flakiness, decreased redness, smoother texture.
Week 5-8: Visible skin clarity, radiant bounce, glass-like reflection.
If you want to evaluate how your skin texture and overall facial aesthetics improve throughout your new routine, download the Glow Up & Attractiveness Test on the App Store. The app uses an advanced AI model to scan your face, provide an instant aesthetic rating, and offer personalized tips to help you maximize your personal glow up goals. Comparing your visual progress every few weeks helps you fine-tune your routine for maximum clarity.
Common Glass Skin Mistakes to Avoid
Even with high-quality products, simple routine errors can prevent you from achieving a glass skin finish. Here are four common pitfalls to avoid:
- Applying Hyaluronic Acid to Dry Skin: Always apply hyaluronic acid onto damp skin after toners. On dry skin, humectants pull moisture from your deeper skin layers, worsening internal dehydration.
- Over-Exfoliating for Fast Results: Scrubbing your face daily strips away necessary skin fats. Keep chemical exfoliating acids limited to two or three nights per week at most.
- Skipping Sunscreen on Cloudy Days: UV rays penetrate cloud cover and windows, causing collagen degradation and dark spots. Wear SPF 30 every day regardless of weather.
- Using Too Many Active Ingredients at Once: Mixing retinoids, vitamin C, and strong exfoliants simultaneously causes severe barrier damage. Introduce one active product at a time over several weeks.
Frequently Asked Questions
What is the primary focus of a glass skin routine?
A glass skin routine focuses primarily on deep hydration, skin barrier protection, and gentle surface smoothing to create a clear, reflective skin finish.
How long does it take to get glass skin?
Most people see initial hydration improvements within one week, but visible changes in skin texture, pore clarity, and glow take four to eight weeks of daily consistency.
Can oily or acne-prone skin types achieve glass skin?
Yes, oily skin types can achieve glass skin by using oil-free gel moisturizers, niacinamide, and gentle salicylic acid to control excess sebum while maintaining moisture balance.
Is a 10-step skincare routine necessary for glass skin?
No, a complex 10-step routine is not required. You can achieve glass skin with a streamlined six-step routine focused on double cleansing, hydrating, moisturizing, sun protection, and weekly exfoliation.
Can I skip sunscreen if my moisturizer has SPF?
Dermatologists recommend using a dedicated sunscreen because most people do not apply enough moisturizer to achieve the full SPF protection rating printed on the label.
How often should I perform a glass skin routine?
Perform the core hydrating and moisturizing routine twice daily, every morning and evening. Reserve chemical exfoliants for one to three evenings per week.
What is the difference between glass skin and oily skin?
Glass skin reflects light due to high internal cellular hydration and smooth surface texture, whereas oily skin looks shiny due to excess surface sebum accumulation.
Should I apply serums on wet or dry skin?
Hydrating serums containing hyaluronic acid or glycerin should always be applied onto damp skin to maximize water retention and surface plumping.